Controlling sound and vibration from industrial fans in manufacturing plants is important for many reasons. Excessive noise and vibration can impact workplace safety by impairing workers’ ability to communicate, increasing environmental stress, and even contributing to employee hearing loss following long term exposure. In addition to affecting human health and safety, persistent vibration can cause premature wear and tear on equipment. This in turn may lead to costly repairs or equipment replacement. Complicating matters is potential downtime and lost productivity.
Fan flex connectors offer an innovative approach to effectively managing industrial fan noise and vibration. In order to achieve optimal performance from flex fan connectors, they should be customized for the specific application and properly installed.
Installing Flex Fan Connectors in 5 Simple Steps
- Select the Right Connector
Before you begin the installation process, it’s important to select the appropriate fan flex connector for your specific application. Consider the size, material, and design that best suits your fan and duct system. The connector should be capable of withstanding the environmental conditions of your plant, such as temperature and airstream contaminants. - Prepare the Installation Site
Ensure that the area where you plan to install the fan flex connector is clean and accessible. Remove any debris or obstructive materials. Check the alignment of the fan and duct; misalignment can cause excessive stress on the connector, leading to premature failure. - Attach the Connector
Carefully attach the fan flex connector to the fan and duct, ensuring it’s not twisted or bent. The connector should be straight and slightly slacked, not taut or overstretched. Ensure that there are no gaps between the connector and the mounting surfaces, since gaps can lead to air leaks, which increase noise and reduce efficiency. - Secure and Seal
If your connector type requires it, apply a sealant or gasket prior to flex installation to prevent air leaks. Once the flex is bolted in place there will not be access to the mounting surface. Be sure to use a sealant that’s compatible with the material of your connector and the environmental conditions of your plant. Once the connector is in place, tighten the clamps or mounting hardware to secure it, being careful to avoid over-tightening. - Test for Leaks and Vibration
After installation, it’s important to test the connector. Turn on the fan system and check for air leaks around the connector. You can use a smoke pencil or a similar device to detect air movement. Also, observe the connector while the fan is operating. It should not exhibit excessive vibration or noise. If it does, recheck the installation steps for any errors in alignment, tension, or sealing.
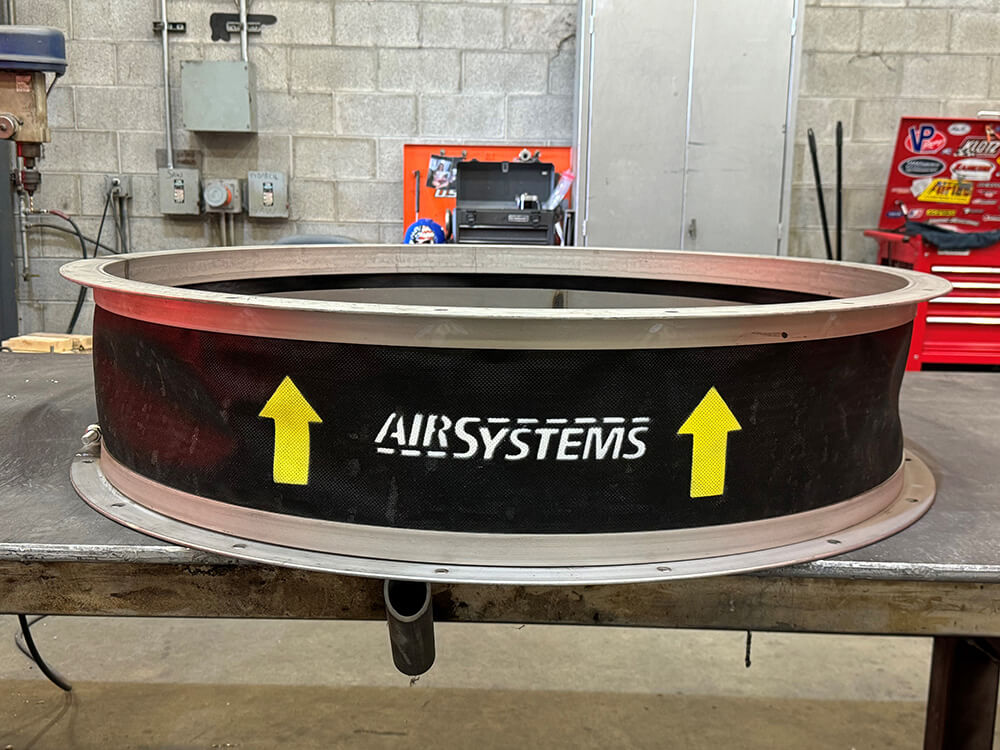
Air Systems Fan Flex Connectors
Air Systems offers custom built fan flex connectors to satisfy the most demanding application requirements. Our fan flex connectors are expansion joints designed and constructed to meet precise requirements and deliver dependable performance. We select materials to ensure the best performance for our customer’s needs.
- Each order specifically designed to suit the application
- Multiple layer material compositions available
- Temperature range of -40° F to 1200°+ F
- Quick 1-2 day approval drawings
- Fast delivery
- One piece liquid tight design available
Whatever your industrial fan noise and vibration control needs are, our fan flex connectors will deliver dependable and effective performance. Contact us today to discuss your project.